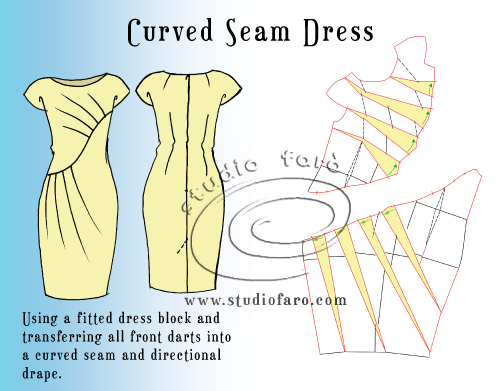
I’ve been promising you the instructions for making a spiral dress and here they are! I was given these by my lovely friend Alice Prieur who teaches pattern cutting at Raystitch, she has give me persmission to write a post about the technique.
You can make Spiral Dresses out of any fabric – both jersey and woven – it just needs a bit of drape. If you use a stripy fabric you will find the stripes spiral around your body but plain fabrics look good too. You can add sleeves or leave without.
What you will need;
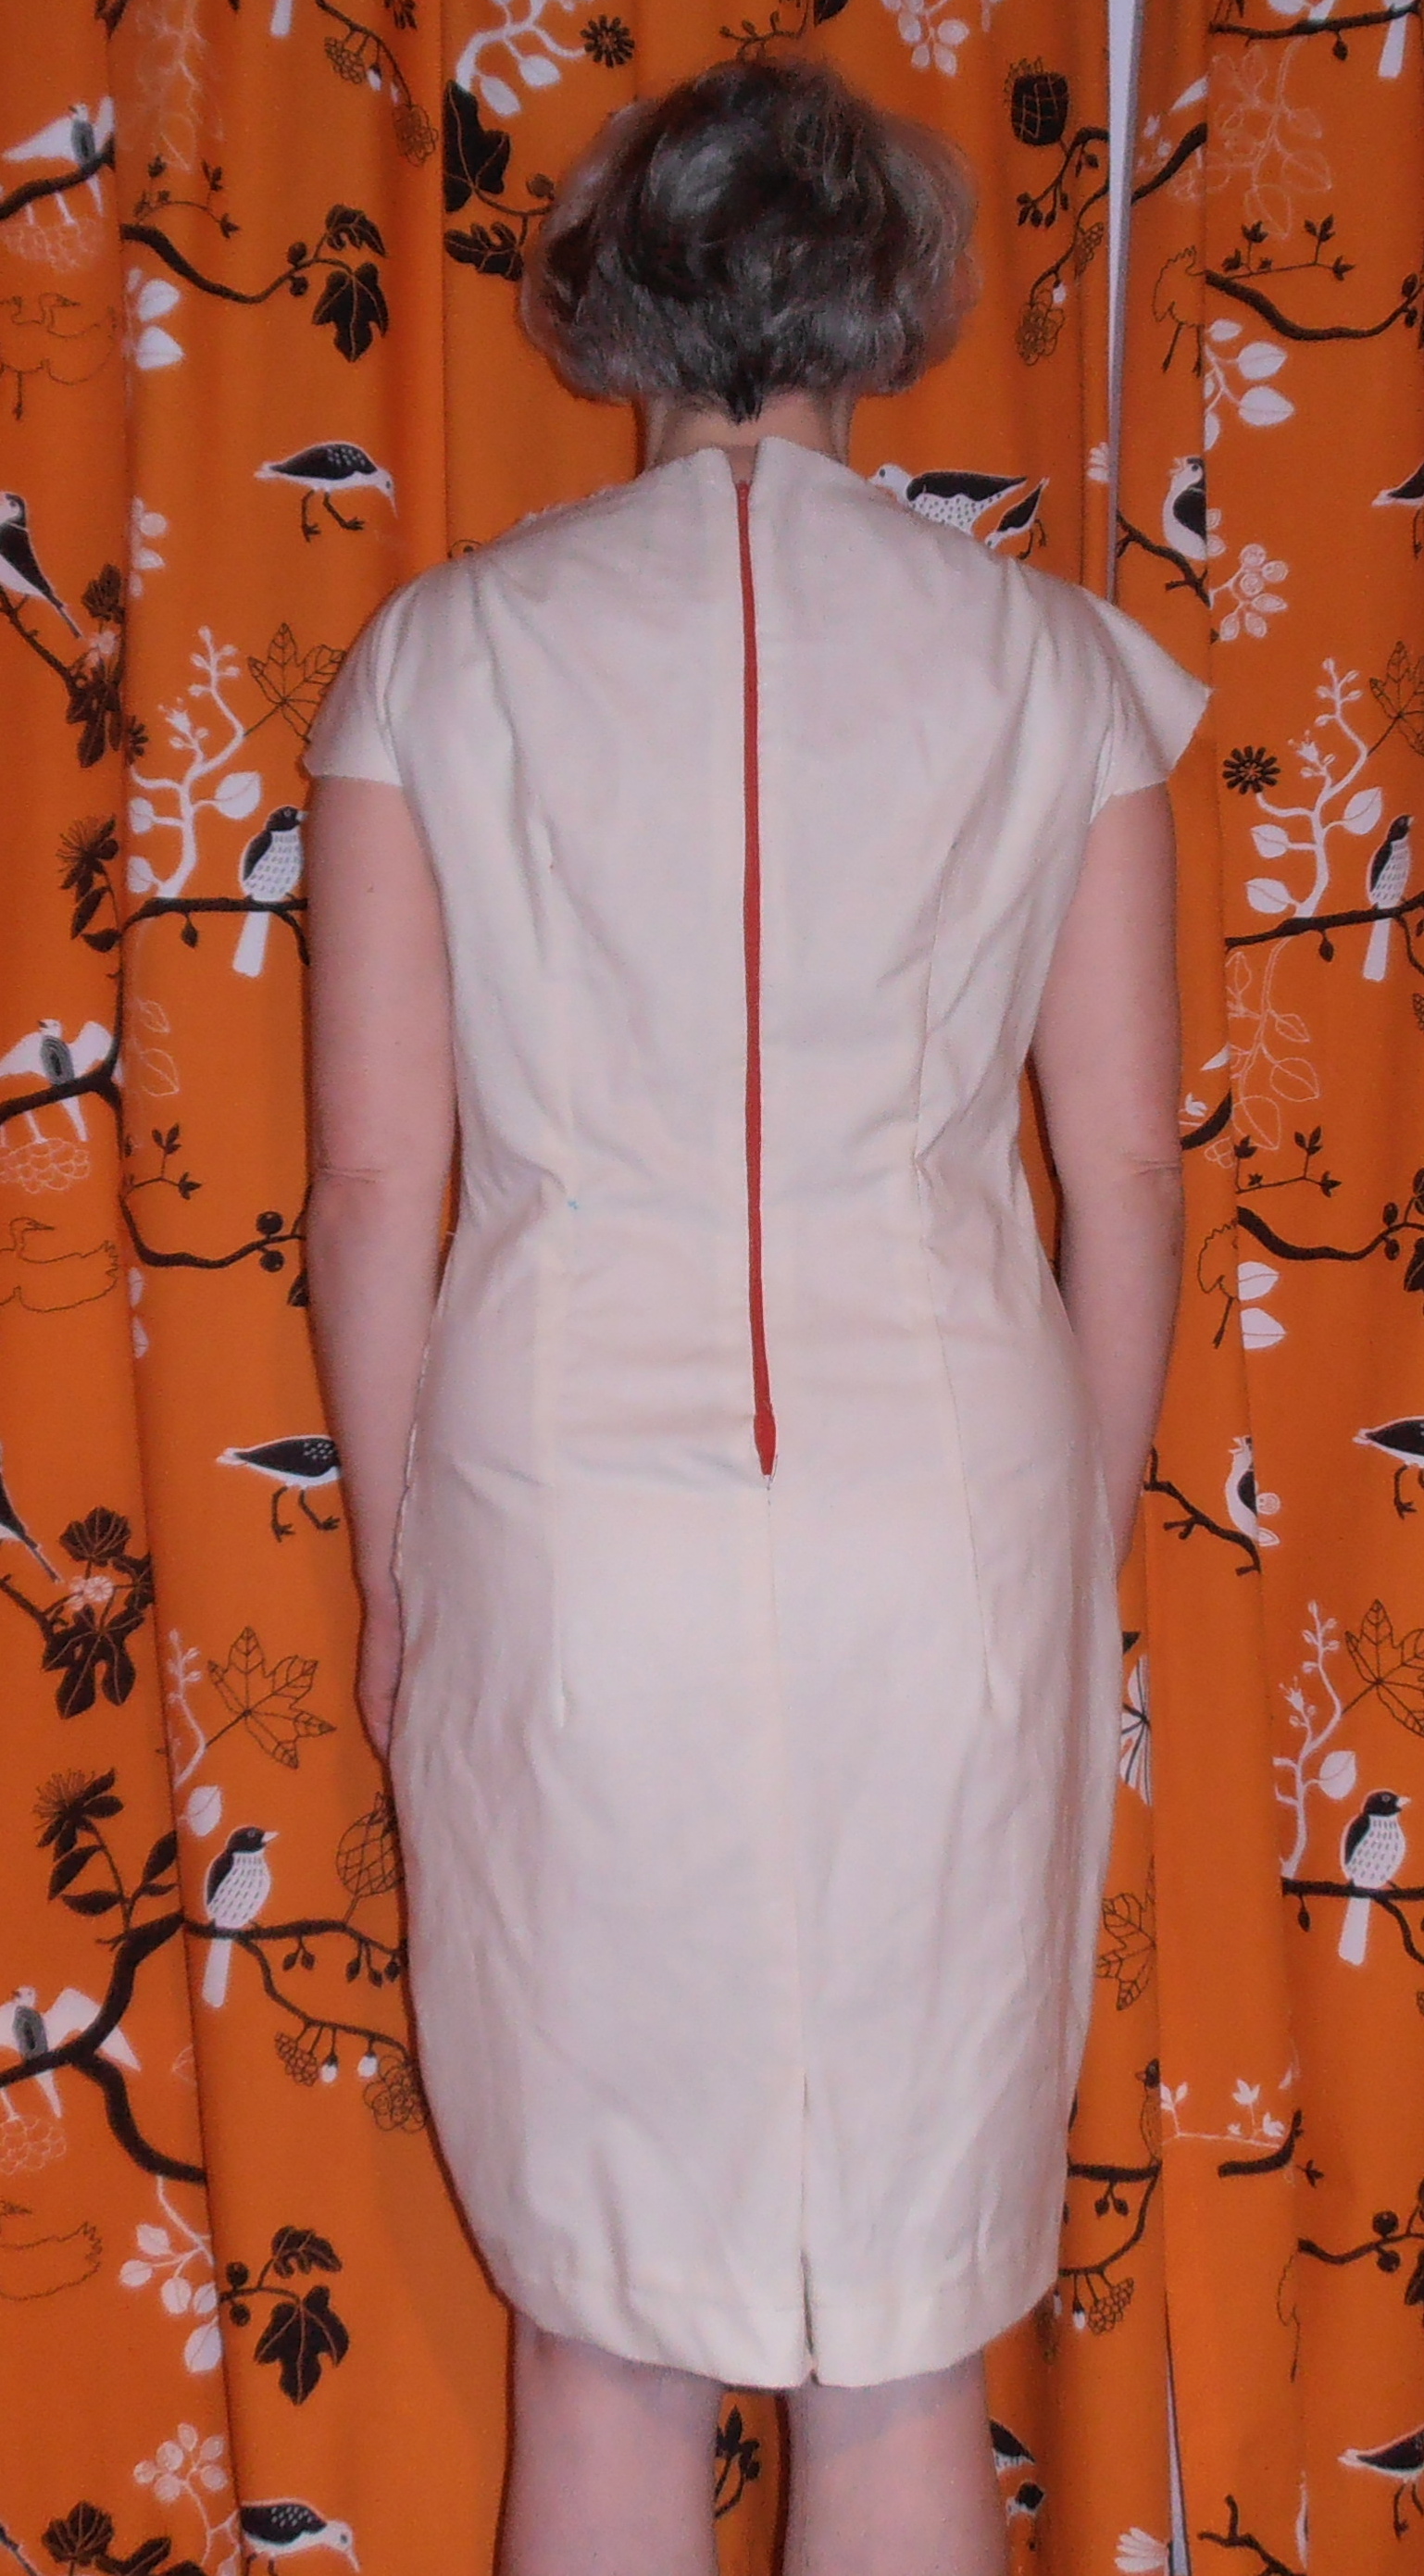
– A pattern with a neckline, armholes and shoulders that fits well and looks good on you. The neckline needs to be large enough to fit over your head without any fastenings. You could draft this or use your block if you have one. If you are making a dress with sleeves you will need those too. Don’t worry about bust shaping you won’t be needing that.
– A very large piece of paper. This needs to be slightly wider (2-3cm) than your hips and a bit longer than your finished dress after allowing for hems and seam allowances. Spot and cross paper is ideal as it will help you get your grainlines and angles straight, but any paper will do
– A long ruler and something to measure a 45 degree angle. I have a pattern master but it’s not essential to use one providing you are confident about drawing the pattern accurately
– A big space to work on!
– Your hip measurement, this is the only measurement you need but it’s vital you get this right as there is no room for fitting once the dress is cut out.
 Step 1 – draw two parallel lines the exact width of your hips apart. Then add a third line in the centre which is half way between the two.
Step 2 – copy your neckline and shoulders in, front on the left, back on the other. You might need to add or remove a little from the arm holes at this stage so they fit between the lines. The bottom of the armholes should meet in the middle. Don’t forget to add in your notches
Draw a line across the bottom of the pattern where you want your dress to end adding a bit for a hem line. You may find you need to adjust this when you sew up the dress.
 Step 3 – Draw a line at exactly 45 degrees from your front armhole across the pattern and down to the far side. I started my line at the front sleeve notch on the armhole, but it doesn’t really matter where you start. This will become your seam line so I suggest you sprinkle a few notches along it to help accurately sew it.
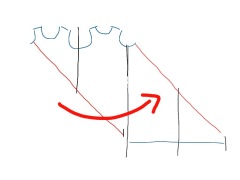 Step 4 – cut along the diagonal line so you get what looks like two triangles with necklines and armholes at one end . Then simply move the piece across to the right and paste the two long edges together to make a rhomboid.
If your diagonal does not m eet exactly in the bottom right hand corner (which is
fairly normal) you might want to take a little of the bottom left and move it to the bottom right so the corners match up.
And that’s it, you now have your pattern! I will write a separate post about how to sew up.
Late addition to this post. Hopefully you will have spotted that I haven’t added any seam allowances. You can add them now or, do as I do, and add them in when you are cutting out the fabric
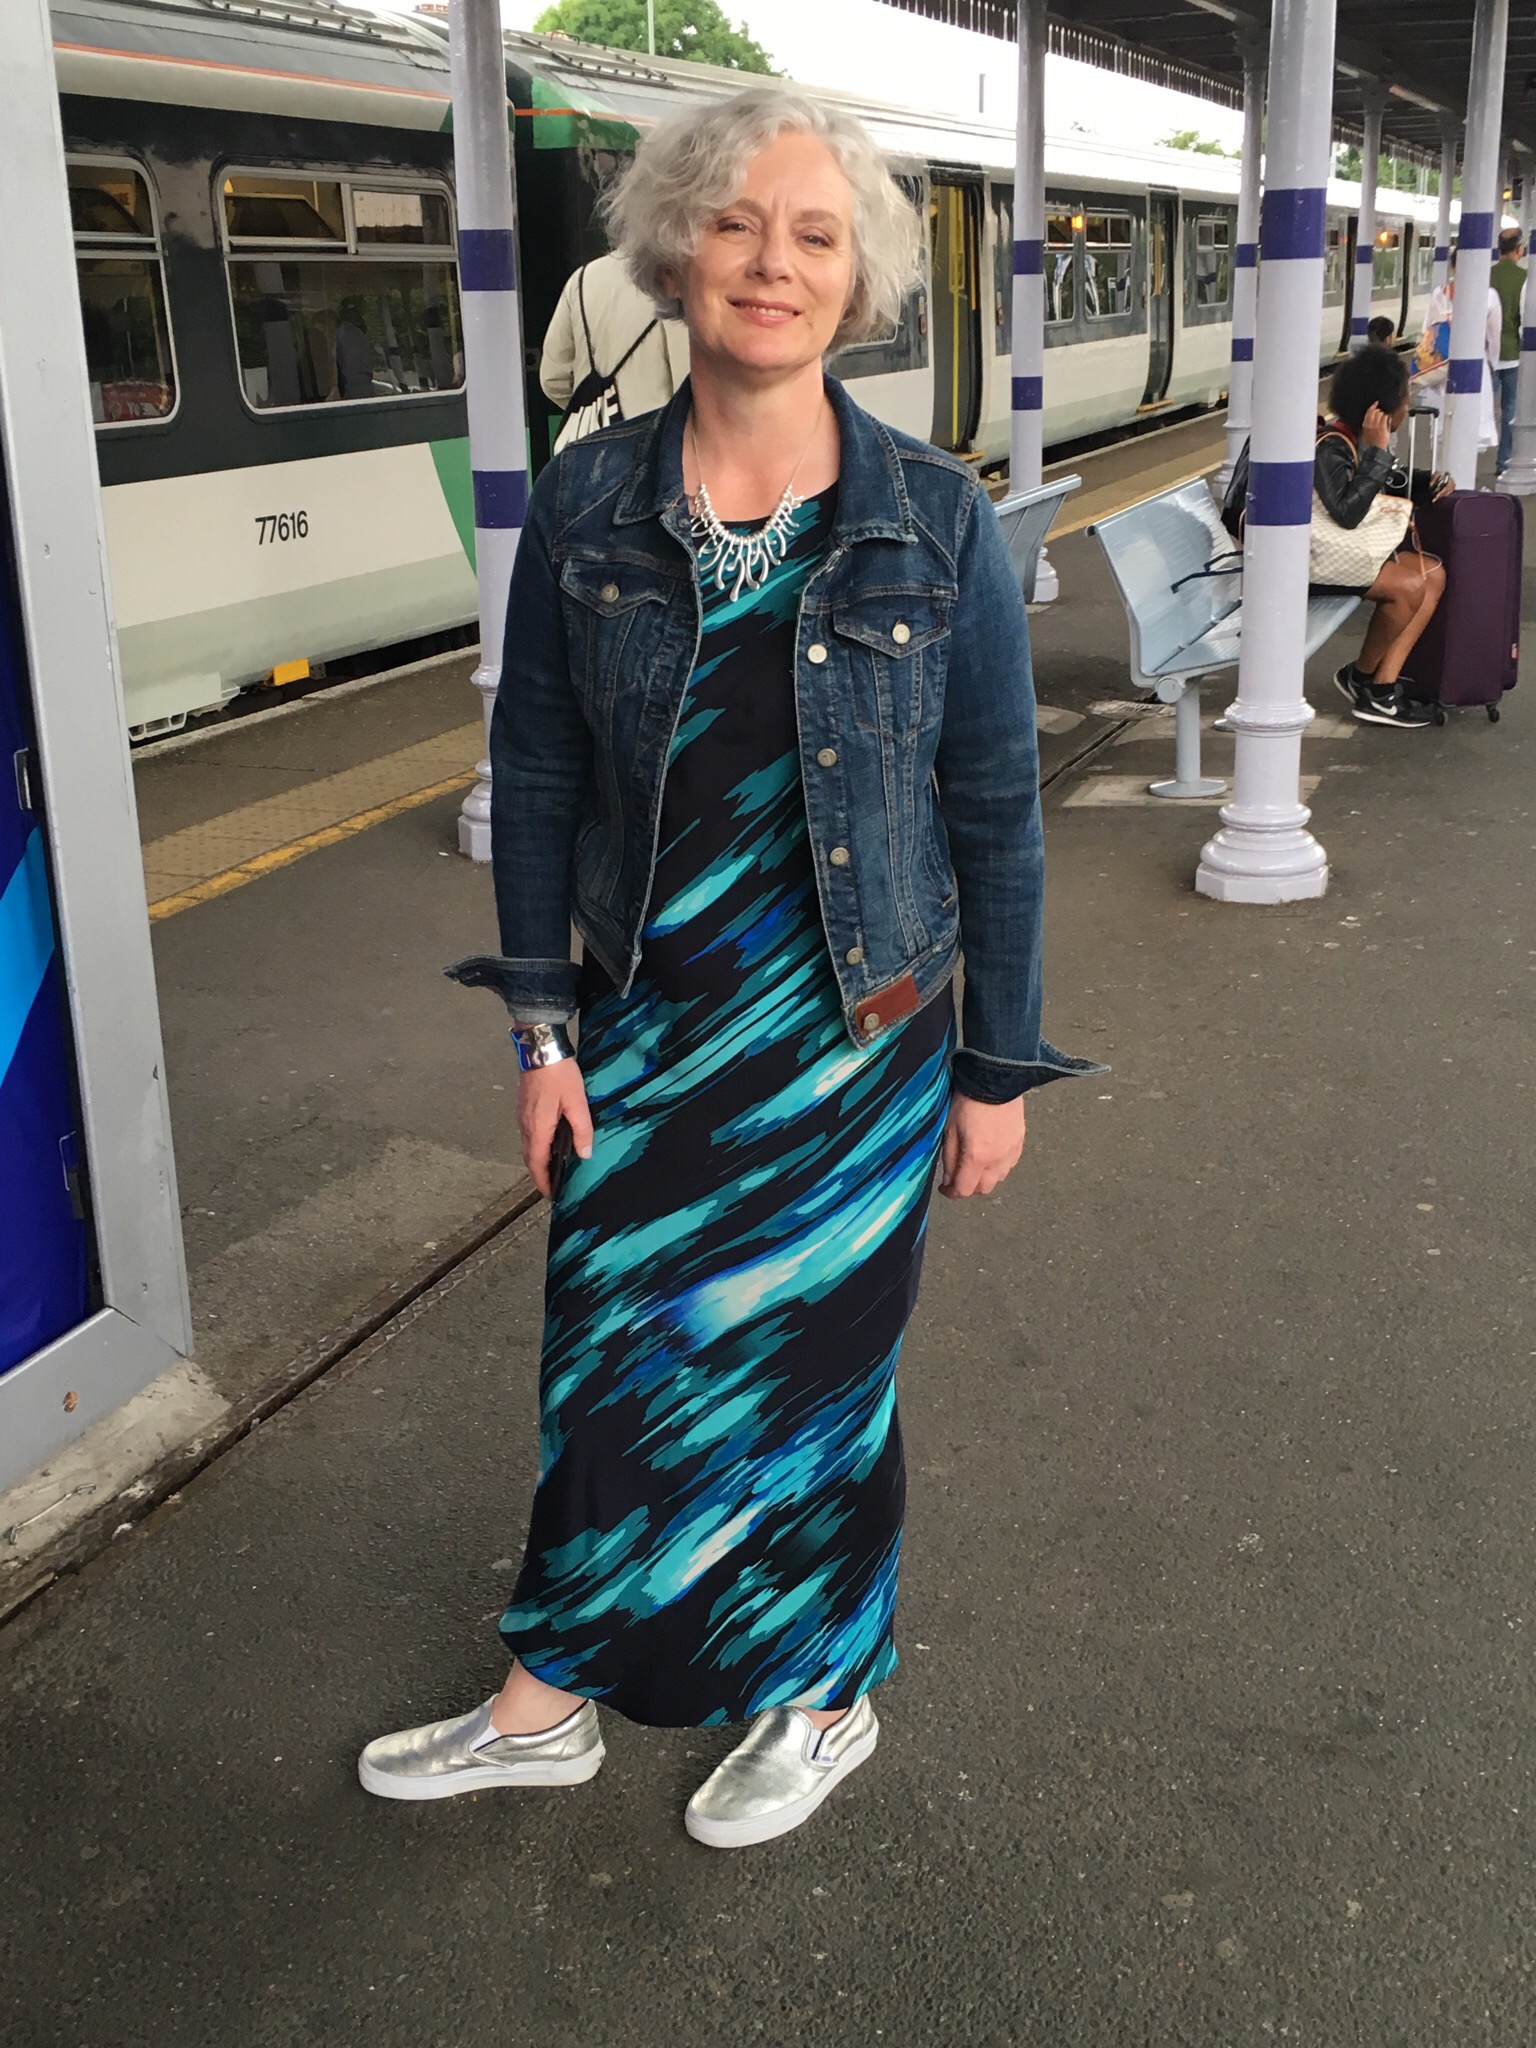
 The dress of the summer has been one I bought from Whistles on a cold grey day in April. It’s been worn with tights and a vest for cold days, leggings for slightly chilly days and just as it is on really hot days. It’s been to the office, up mountains, to dinner and everywhere inbetween.
 Of course now it is turning into Autumn I can’t see that I will wear this much before next year so I am busy making a second out of black pinstripe wool.


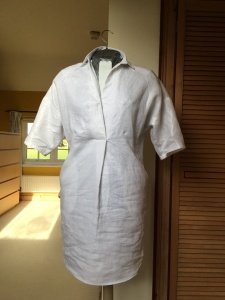
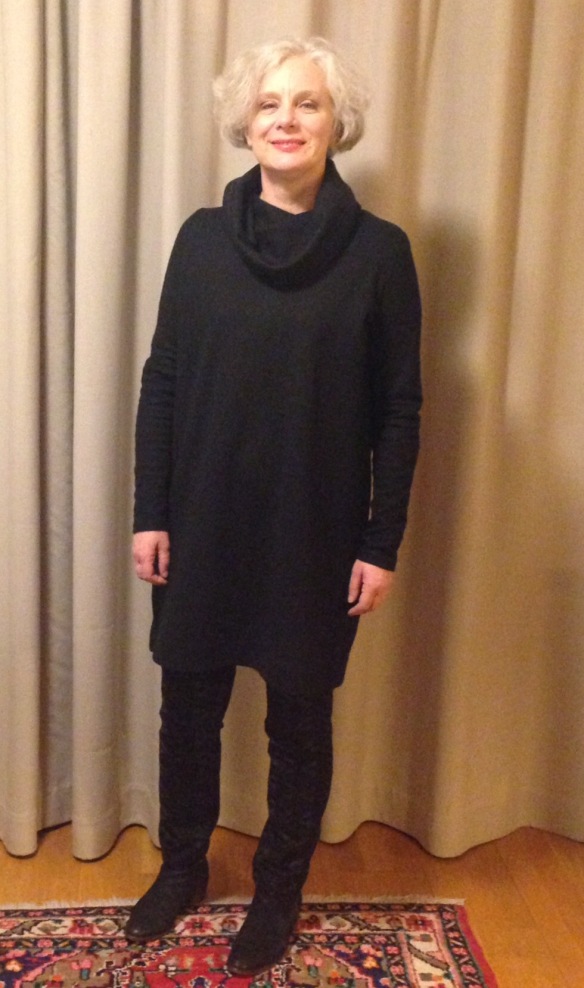
 rtunately my lovely friend Alice’s birthday party gave me the motivation and impetus to get it finished.
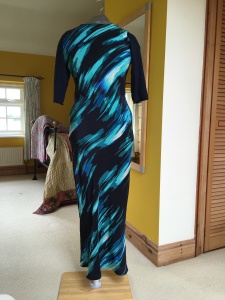 Eventually inspiration struck and two days before the party I took out my stretch sleeve block and cut a pair of sleeves from some viscose jersey. I then added a facing at the neckline and a couple of hours before the party a rolled hem.


 The fabric is called Les Branches and came from

